Measure first
Measure wall width, projector distance, ceiling height and seating distance. Share photos of the room before selecting a projector or screen.

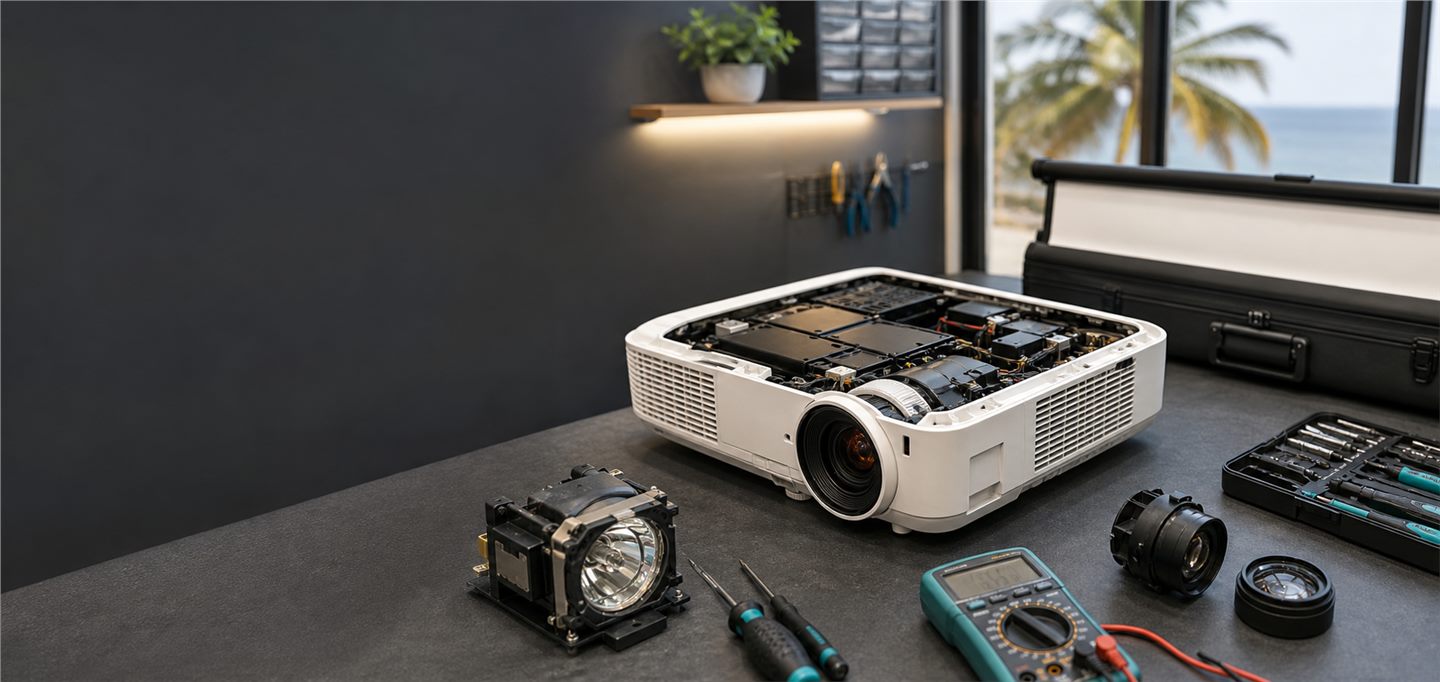
Installation and setup
Projector placement, screen size, mounting, cabling and setup guidance for rooms and event spaces across Goa.
A projector can be technically working but still deliver a poor experience if it is mounted at the wrong distance, aimed at an uneven surface, connected with weak cabling or used in a bright room with the wrong screen size. Projector Repair Services supports projector installation and setup guidance in Goa for meeting rooms, classrooms, churches, training spaces, hotels and small venues that need practical projection advice.
Good setup starts with room measurement. The projector throw distance, screen width, seating position, ceiling height, mount point, cable route and ambient light all matter. A common mistake is choosing a projector only by price and then discovering that it cannot fill the required screen size from the available distance. Another common issue is HDMI cable length, where low-quality long cables cause flicker, no signal or intermittent display. Setup planning avoids these problems before drilling, mounting or buying accessories.
For existing rooms, we can help diagnose focus problems, keystone distortion, image not fitting the screen, laptop display issues, audio-video switching, remote control problems and ceiling mount alignment. For rentals, a simpler temporary setup may be enough. For permanent rooms, cable management, ventilation and access for maintenance should be considered from the beginning.
Installation planning should begin before the projector is purchased or mounted. The first question is not only "which projector is best" but "what image size, brightness and distance does this room need". A small meeting room may need a short throw arrangement, while a hall may need a brighter projector and a larger screen. A classroom needs readable text from the back row. A church or community hall may need a higher screen position so people can see over the front rows. These practical details shape the setup.
Permanent installation should also consider maintenance access. If the projector is mounted too close to a ceiling or wall, filters may be hard to clean and cables may be difficult to replace. If the projector is mounted in a dusty airflow path, it may need more frequent service. If the HDMI route is hidden inside a wall or ceiling, cable quality should be chosen carefully because replacing it later can be difficult. Power should be stable and safe, with no loose extension boards hanging near the projector.
Temporary installation for rentals has different priorities. The setup should be quick, stable and easy to remove without damaging the venue. The screen should be placed safely, cables should not cross walkways, and the projector should be positioned so people do not block the beam. A quick rehearsal with the actual laptop and presentation file can prevent resolution, audio and adapter problems.
For existing systems, small adjustments can improve the experience. Moving the projector slightly, reducing keystone correction, changing screen height, replacing a weak HDMI cable or cleaning the lens can make the image look sharper. If the projector is still blurry after alignment, the issue may be lens, optical or panel related and should be diagnosed as a repair problem.
This page supports enquiries such as projector installation Goa, projector setup near me, meeting room projector setup, classroom projector installation, ceiling mount projector alignment and HDMI projector setup. These enquiries often come from customers who want the projector to work correctly on the first day, not after multiple trial-and-error visits. A planned setup improves image quality, safety and long-term service access.
For best results, take photos from the back of the room, side wall, ceiling, screen area and source device table before requesting advice. A few simple photos can reveal sunlight problems, cable distance, low ceiling, blocked mounting points and screen placement issues that are not obvious from room dimensions alone.
Measure wall width, projector distance, ceiling height and seating distance. Share photos of the room before selecting a projector or screen.
Check laptop HDMI output, adapters, audio routing and source switching before the actual meeting or event.
Helpful photos include room photos, existing mount position, current projected image, cable path and source device connection.
Weak ceiling points or poor brackets can be unsafe. Permanent mounts should be fixed securely and allow service access.
Long HDMI cables and cheap adapters can create no-signal issues. Test cable quality before final installation.
Yes. Share room size, screen size and brightness conditions so the right brightness and throw distance can be considered.
Yes. HDMI no signal, alignment, focus, source switching and ceiling-mounted projector issues can be diagnosed.
Keystone helps, but physical alignment is better for image clarity and professional setup.